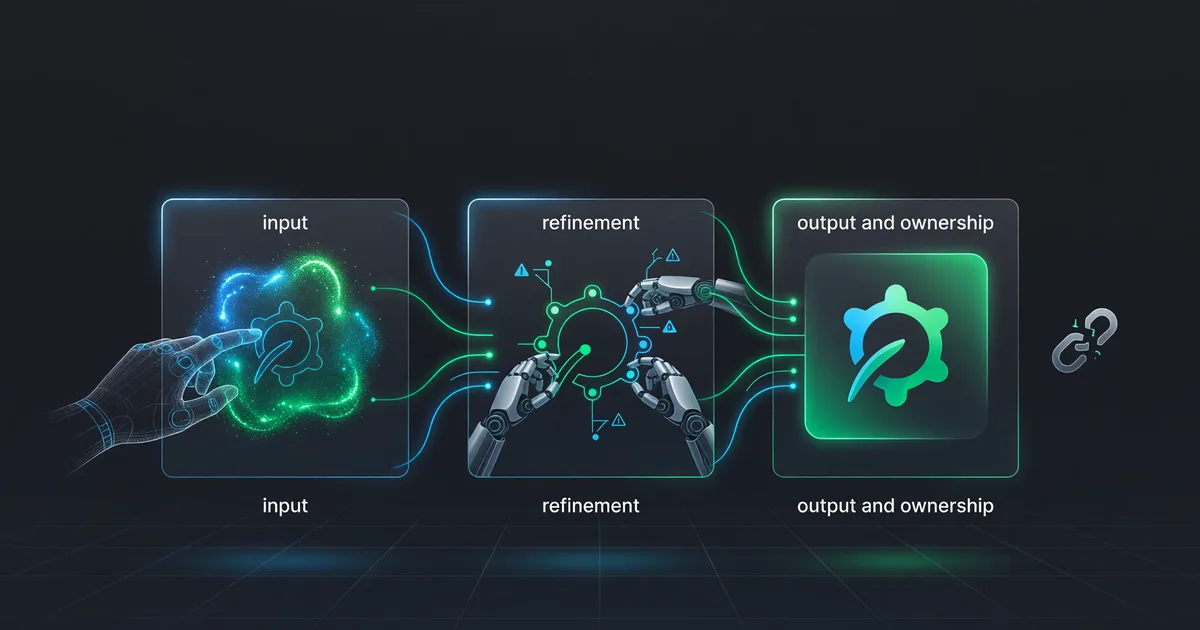
Recraft for Beginners: Your First AI Logo and SVG
Generate a real, editable SVG logo in Recraft, step by step from its own docs, plus the free-plan ownership catch and the failure modes to expect.
You need a mark, and you need it as an SVG. One file that stays sharp at 16 pixels in a browser tab and at two metres on a trade-show banner. A PNG cannot do that. Recraft lists SVG among its export formats, which is the reason it is the starting point here, so this walkthrough follows its own documentation from a cold signup to a downloaded vector file.
Every button name, menu path, format list and credit figure below is taken from Recraft's published docs at recraft.ai/docs, cited inline as we go. Two caveats before you start. Recraft ships an Old interface toggle, and its own generation-modes page notes that Agentic and Manual modes are not accessible while that toggle is on, so what you see may not match label for label. And where the docs decline to publish a number, this post says so instead of guessing.
Read the ownership rule before you generate anything
This decides whether the rest is worth your afternoon. Recraft's commercial rights page (docs/plans-and-billing/commercial-rights-and-ownership) states that images generated under the Free plan "are publicly visible in the community gallery and remain the property of Recraft," and that those images "are not licensed for commercial use." It gives stock platforms as an example of somewhere they cannot be listed, because those require proof of ownership.
Paid plans are the opposite: full ownership and commercial rights, private generations, and the docs say paid-plan images stay yours even after the subscription ends. Regardless of plan, the same page prohibits using Recraft output to train AI models.
The practical reading is that the free tier is for learning the tool and testing directions. If the mark is going on invoices, packaging or a storefront, you want a paid plan in place before you generate it, not after you have fallen in love with a specific result.
The rest of the Free plan, per docs/plans-and-billing/free-plan: credits reset every 24 hours, you can upload up to three images per day, and each prompt produces up to two images at a time. Credit top-ups are paid-plan only. The docs do not state the daily free credit allowance anywhere, and neither will this post. Check the live pricing page, and expect the number to move.
Step 1: sign up and open an empty canvas
Per the quick start (docs/recraft-studio/quick-start), go to recraft.ai and click Start now free. Sign-in options are Email, Google, Discord and Apple. No password is required; email signups get a one-time code. New accounts include free credits.
You land on the Projects view, which is where all your work is organised. Click Create new project to open an empty canvas. Each project is an infinite canvas, so you can generate in every direction without running out of room. There is a shortcut too: the image-generation page lists recraft.new as a direct route to a fresh project.
Step 2: pick a vector style before you type a word
This is the step that decides whether an SVG is possible at all, and it is the one beginners skip. Click Style in the prompt panel to open the Style library. The Curated tab groups styles by type: Photorealism, Illustration, Vector art, Vector icon, Graphic design, Vector logo, and Other styles. A second tab, AI Generated, holds what the docs call an "infinite" collection of generated styles.
Recraft's logo page (docs/recraft-studio/image-generation/how-to-generate-a-logo) names three styles built for this job: Geometric Logo, Sharp Drawn Logo and Playful Typographic. It also tells you how to find the rest, which is to type "logo" into the style search bar. If you expect to reuse one, the bookmark icon in the upper right of the style panel adds it to your library.
Choosing an Illustration style instead of a vector one is how people end up with a beautiful logo and no SVG. The custom-style docs flag the same trap from the other side: if you want clean vector shapes and the system defaults to Illustration, which is raster, switch the category to Vector art by hand.
Step 3: write the prompt the way the docs ask for it
Recraft publishes a universal prompt template, and it is worth following literally: [SUBJECT + ACTION], [COMPOSITION], [CONTEXT], [MEDIUM], [STYLE], [VIBE], [ATTRIBUTES]. The logos-and-icons page narrows that for this format, saying logos "depend on minimal detail, clear geometry, and a restrained palette."
Here is the docs' own line-icon example, quoted exactly: "Line art icon logo for pasta brand, simple outline of spaghetti wrapped around fork, consistent stroke width, monoline style, clean and minimal, works at small sizes, modern culinary app aesthetic". Copy the shape of that sentence and swap in your subject. Note how much of it is instruction about form rather than description of a thing.
For words inside the mark, the logo page says to put them in quotation marks. Its example: typing "Broccoli" adds that word as stylized text. For the opposite, open the settings button in the prompt panel and toggle Avoid text in image to Yes. The same settings panel holds the Negative prompt field for things to exclude, and the docs are specific about how to fill it: write apples, not no apples, because the negation confuses the model and can produce the thing you were trying to avoid.
Step 4: set model, ratio and count, then generate
The prompt panel sits at the bottom of the canvas by default and can be docked to the side instead. Docking changes layout only. Its controls, per docs/recraft-studio/image-generation/how-to-generate-an-image, are generation mode (Agentic or Manual), Model, Style, Ratio, Count and Color.
On models, the docs give a clear ranking. V4 is "the best default choice for most tasks" across raster and vector. V4 Pro has the same creative capability at higher resolution, for print-ready or large-format work. V3 is the pick when you need style consistency, precise text positioning or artistic level control. V2 survives for effects exclusive to it.
Count goes up to 4 images per prompt, though the Free plan caps a prompt at two. Ratio controls framing, and a logo usually wants square. Color applies a predefined or custom palette to guide generation, which is the setting to reach for when you already have brand hex values. Then click the generate button; the result appears on the canvas inside a bounding box.
Watch what each move costs. The credits table (docs/plans-and-billing/credits) prices most generation actions at "the model price" rather than a flat number, and the model table on the natural-language editing page lists Recraft raster image generation at 1 credit and Recraft vector image generation at 2. External models attached to the same panel cost considerably more: Nano Banana Pro 4K is listed at 30 credits, GPT-4o High at 24. Prompt enhancer costs 0.
If you want to compare directions rather than refine one, Exploration mode generates several variations from a single idea and is priced at 2 credits in the credits table.
Step 5: clean up in the right order
If you generated in a vector style, your file is already vector and you can skip to export. If you generated raster and want vector anyway, sequence matters. Recraft's FAQ answers this directly: "Remove the background first, then vectorize the image." Isolating the subject first stops background shapes from being converted into vector paths, which is what produces a cleaner result.
To remove a background, select the image and click Remove background in the context panel. It costs 1 credit. The docs note it works with images at 1024 on the smaller side, and that Recraft downscales large images before applying the edit, which shows up as a visible quality loss.
To vectorize, select the image and click the Vectorize icon in the context panel. The Color Reduction slider limits how many colours end up in the output, which simplifies complex images. Colours are then editable in Swatches mode, the default, or Spectrum mode for shifting whole ranges at once. Vectorization is 1 credit. The docs set expectations honestly here: photorealistic images, 3D renders and highly textured illustrations "may produce artifacts when converted to SVG, since the format supports only simplified shapes, lines, and fills."
Recraft also has a Vector Editor, so you do not have to leave for shape-level fixes. Double-click any vector on the canvas to split it temporarily into its individual shapes, or select it and click Convert to frame to split it permanently. From there you can move, scale, rotate, recolour and reorder shapes, and double-clicking a shape again exposes its points and tangents for dragging.
Step 6: export the SVG
Select the image on the canvas, click the Export button in the context panel, specify dimensions, format and resolution, then click Export again. Right-clicking the image and choosing Export as... gets you to the same place. The quick start describes the Export control as sitting in the upper right while the export page puts it in the context panel, which is a good reminder to trust the interface in front of you over any written walkthrough, including this one.
The export page lists the format options as one flat set, with no raster or vector grouping: PNG, JPG, TIFF, PDF, SVG or Lottie. The single distinction it draws is that "Vector images can be exported as SVG and PDF for scalable use." Sorting the other formats into raster and vector buckets is a reasonable reading, not something Recraft publishes. The FAQ gives the ceilings: SVG files max out at 48 MB, and raster export tops out at 5,800 pixels on the longest side, 16 megapixels, and 48 MB.
One constraint catches people who used Convert to frame. A frame can only be exported as a vector if every element inside it is a vector. If anything raster is still in there, vectorize it first.
The failures the documentation already warns about
You have a logo but no usable SVG. Vector export applies to vector images: the export page says vector images can be exported as SVG and PDF, and the Vector Editor page adds that a frame only exports as vector if every element inside it is a vector. If you generated under a raster style, regenerate the same prompt under Vector art, Vector icon or Vector logo. Vectorizing the raster afterwards works, and it is second best for the reason the docs give above.
The text in the mark is mangled. Keep words short, put them in quotation marks, and consider switching to V3, which the model guidance singles out for precise text positioning. For anything you will reuse, generating the symbol alone and setting the name yourself in a real typeface is the safer path. If in-image typography is the whole job, Ideogram is the typography-focused generator in our directory.
Every result looks like the same anonymous AI logo. The fix Recraft documents is a custom style. Click Style, then Create style, and upload up to five reference images at 256px or better. Percentage sliders between references control their influence, and a style-level prompt describing technique and colour gets embedded so your later prompts can stay short. Set the interpretation model to Style essentials for aesthetics only, or Style and composition to also capture layout. For minimal icons, the docs say to set the category to Vector icon.
Credits gone before anything is usable. Prompt enhancer is free, so use it. Crisp upscale is 1 credit and Creative upscale is 20, and the docs recommend Crisp for icons and vector-style illustrations because it raises resolution without regenerating content. Upscaling also does not support transparency: the docs say a transparent background comes back white. If you need a whole icon set, image sets take up to six prompts in one go with a shared style, palette and aspect ratio.
Where an image generator stops being the right answer
Two things are worth separating, because Recraft's docs only settle one of them. Ownership of the file is settled: paid plan, and it is yours commercially. Whether that mark is defensible as a trademark is a separate legal question that no image generator's documentation addresses, and it depends on your jurisdiction and on what already exists in your class of goods. A trademark search is the missing step, and nothing in this walkthrough substitutes for it.
Precision work is the other limit. If the brief specifies an exact geometric construction, a grid, or fixed proportions, prompting toward it is slow and imprecise. Recraft's Vector Editor gives you point-level control after the fact, which helps, but starting in a dedicated vector tool is faster when the geometry is the requirement rather than the aesthetic.
For a side project, a landing page, a Discord server, a placeholder while the business takes shape, or an internal icon set, the six steps above get you a real, editable SVG in an afternoon. For a funded company putting a mark on packaging it intends to defend, budget for a paid Recraft plan at minimum, and treat the output as a strong first draft that a designer and a trademark check still have to clear.
Keep reading
How to Write With AI Without Sounding Like a Robot
Learn how to write with AI without sounding robotic. Master prompt engineering, the write-then-edit approach, voice preservation techniques, and tools like…
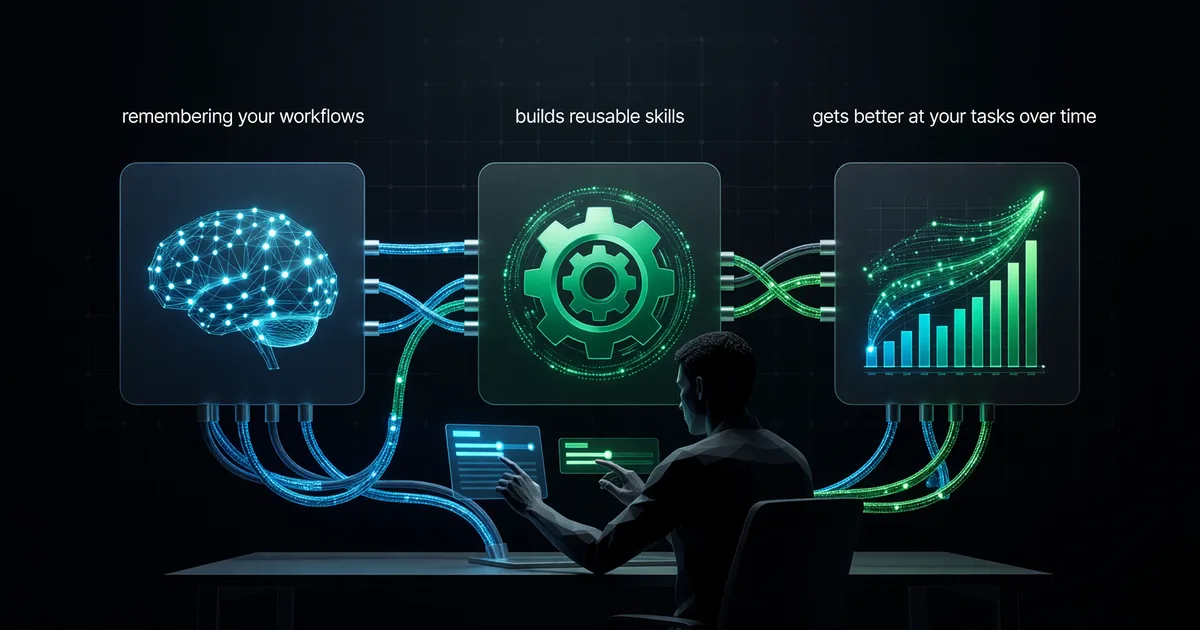
Hermes Agent Tutorial: Self-Improving AI Setup
Install and configure Hermes Agent so it remembers your workflows, builds reusable skills, and gets better at your tasks over time.
How to Clone Your Voice in ElevenLabs: A Beginner Guide
What ElevenLabs' docs actually say about instant voice cloning: the plan you need, the audio spec, the five settings, and the limits.